Balloon Lightbox: A Complete Guide to Crafting Illuminated Paper Art
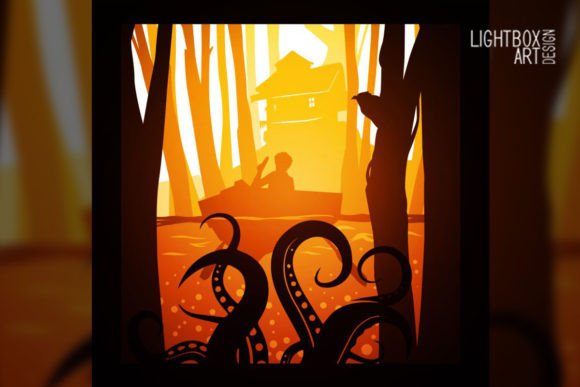
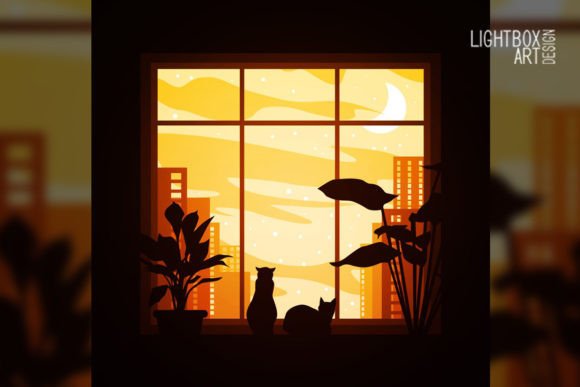
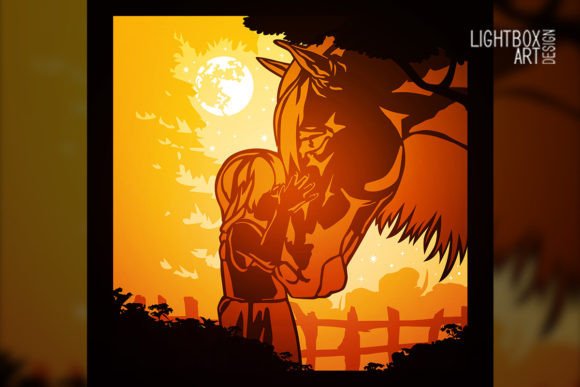
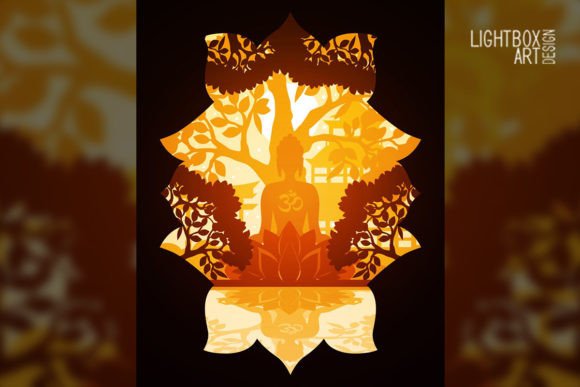
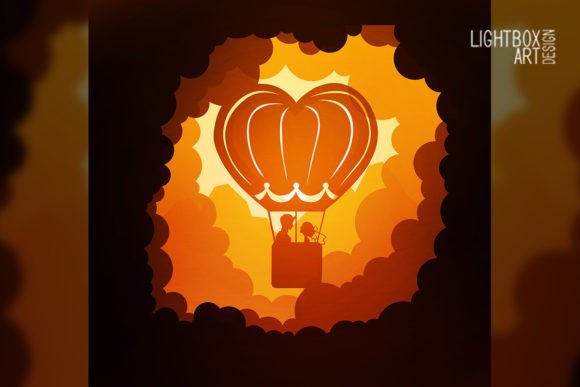
Creating ambient lighting that feels personal and handcrafted is a common goal for home decorators and DIY enthusiasts, yet finding the perfect balance between artistic expression and functional illumination can be challenging. The Balloon Lightbox serves as an elegant solution to this dilemma, transforming simple paper layers into a captivating, backlit shadow box display. Unlike standard printed art or generic store-bought lamps, this project combines the precision of digital design with the warmth of traditional papercraft. It offers a unique way to customize your living space, create memorable gifts, or even develop a small-scale crafting business. By utilizing specific digital files and layered construction techniques, you can achieve professional-grade results at home without requiring industrial equipment.
Understanding the Digital Asset Package
The foundation of any successful Balloon Lightbox project lies in the quality and versatility of the source material. When you acquire a premium template, you are not just receiving a single image; you are accessing a comprehensive digital ecosystem designed for various skill levels and equipment types. The downloadable ZIP file typically contains a suite of formats including SVG, JPG, PDF, DXF, CDR, and AI files. This variety ensures compatibility whether you are using a high-end laser cutter, a consumer-grade vinyl cutter like a Cricut or Silhouette, or simply printing and cutting by hand.
The inclusion of AI and CDR files caters to designers who may wish to modify the vector paths or resize elements without losing resolution. Meanwhile, the DXF format is essential for users operating CNC machines or specific laser software. For those who prefer manual assembly, the PDF and JPG files serve as accurate visual guides and printable templates. Crucially, the package includes a Tutorial Instruction.txt file. This text document is often overlooked but contains vital assembly logic, layer ordering, and troubleshooting tips that bridge the gap between having the files and successfully completing the build. Always review this instruction file before making your first cut to understand the specific nuances of the 5-layer design.
Material Selection for Optimal Light Diffusion
The aesthetic success of a Balloon Lightbox depends heavily on paper weight and texture. The recommended specification of 200–250 gsm paper is not arbitrary; it is the engineering sweet spot for light transmission. Paper lighter than 200 gsm tends to warp when exposed to the heat of LED strips and may reveal the internal structure too clearly, breaking the illusion of depth. Conversely, cardstock heavier than 250 gsm blocks too much light, resulting in a dim display where only the outermost layer is visible while inner details remain lost in shadow.
Beyond the decorative paper, structural integrity requires foam board. This material acts as the spacer between each of the five layers, creating the physical depth necessary for the shadow box effect. While some crafters attempt to use cardboard spacers, foam board provides a cleaner edge and better insulation against heat. For the housing itself, you have the option of constructing a custom shadow box from foam core or wood, or repurposing an existing frame. If building from scratch, ensure the interior is painted white or lined with reflective foil to maximize light bounce within the enclosure. The RGB LED strip with its power supply completes the system, allowing you to adjust color temperature and mood to match the room’s decor or the theme of the artwork.
Navigating the Construction Process
Assembling a Balloon Lightbox requires patience and precision, particularly when managing the five distinct layers. Each layer measures 8×8 inches (21×21 cm), a standard size that fits most square shadow boxes and allows for efficient paper usage. The process begins with cutting. If using a laser cutter, test your power and speed settings on scrap paper first to avoid scorching the edges, which can detract from the clean, ethereal look of the finished piece. For those using an art knife, a fresh blade is mandatory; dull blades tear paper fibers rather than slicing them, leading to frayed edges that cast messy shadows.
Layer alignment is the most critical phase of assembly. Misaligned layers will distort the image and ruin the three-dimensional effect. Use registration marks if provided in the design files, or create a simple jig from scrap foam board to hold layers in place during gluing. Adhesive choice matters significantly here; double-sided tape sheets offer a mess-free alternative to liquid glue, which can cause paper to buckle. Work from the back layer forward, ensuring each spacer is securely bonded before adding the next paper layer. The final step involves installing the RGB LED strip along the inner perimeter of the box backing. Position the LEDs evenly to prevent hot spots, and route the power cable through a discreet hole drilled in the side or back of the frame.
Adapting the Project for Different Skill Levels
One of the greatest strengths of the Balloon Lightbox format is its adaptability to different user capabilities and goals. Beginners approaching this project for the first time should focus on mastering the basic assembly using the provided JPG and PDF guides. Sticking to the standard 8×8 inch size reduces complexity and material waste while learning the fundamentals of layer spacing and lighting. Intermediate crafters might explore modifying the SVG files to add personalized text or swap out specific design elements to suit a recipient’s interests. This level of customization transforms a generic template into a meaningful keepsake.
Advanced users and small business owners often leverage the AI and DXF files to streamline production. They may optimize nesting layouts to reduce paper waste or adjust kerf settings for laser cutting to achieve perfect friction-fit assemblies without adhesive. For those selling these items, the ability to quickly change colors via the RGB LED strip means one physical product can serve multiple markets—from nursery decor in soft pastels to sports memorabilia in team colors. Understanding how to manipulate the source files efficiently turns the Balloon Lightbox from a weekend hobby into a scalable creative venture.
Practical Applications and Display Considerations
The versatility of the Balloon Lightbox extends beyond simple wall decoration. These illuminated displays serve exceptionally well as nightlights in children's rooms, providing a comforting glow that is far less harsh than overhead lighting. In retail or office environments, they function as branded signage or motivational art that draws attention without being aggressive. For event planners, customized lightboxes make stunning table centerpieces or backdrop elements that photograph beautifully due to their self-illumination.
When planning your installation, consider the viewing environment. Because the Balloon Lightbox relies on backlighting, it has the most impact in low-to-medium ambient light conditions. Placing it in direct sunlight will wash out the LED effects, while a completely dark room may make the contrast too stark. Dimmable RGB controllers are highly recommended to fine-tune brightness throughout the day. Additionally, think about long-term maintenance. Dust can accumulate between layers over time, so sealing the front with glass or acrylic not only protects the delicate paper cuts but also makes cleaning easier. Ensuring proper ventilation for the LED power supply is also crucial for safety and longevity, especially if the lightbox will be left on for extended periods. By addressing these practical considerations during the planning stage, you ensure your creation remains a beautiful, functional piece of art for years to come.