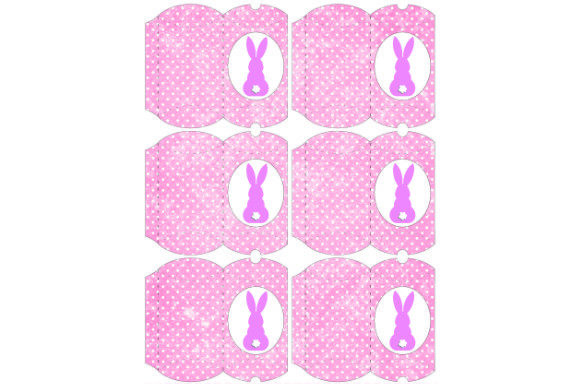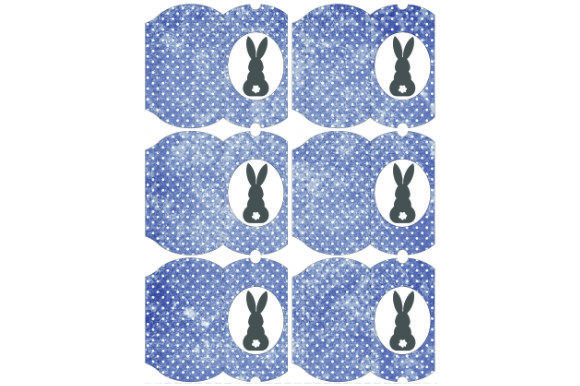
Pillow Boxes Bunny C.7.: A Practical Guide to Printing and Assembling Tiny Gift Packaging
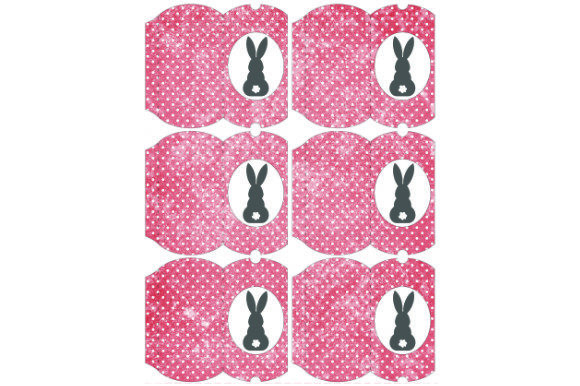
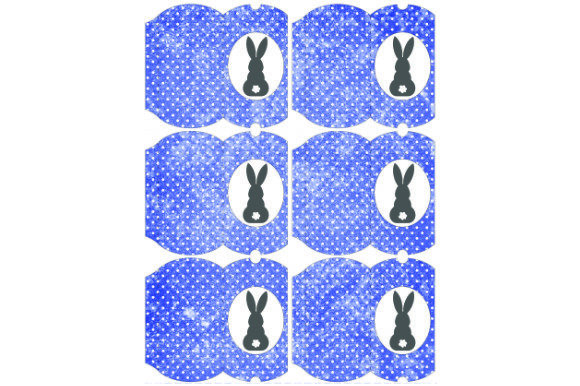
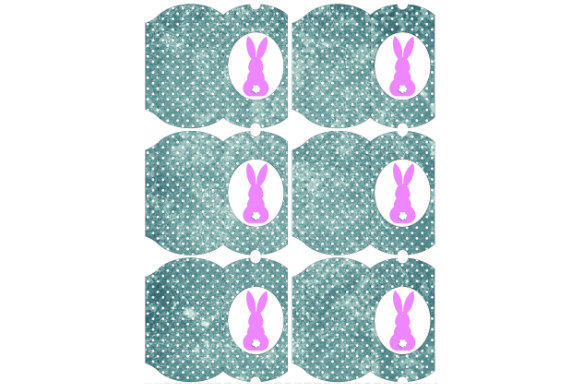
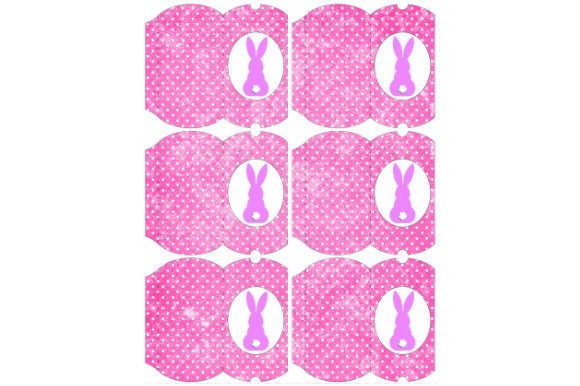
When you are preparing for a bridal shower, baby shower, or a small business product launch, the packaging often matters just as much as the gift inside. Pillow Boxes Bunny C.7. offers a charming, compact solution for these moments. This specific design features an adorable bunny motif that adds immediate character to candy, confetti, or small trinkets without requiring expensive custom manufacturing. Because this is a set of six tiny printable pillow boxes, it serves as an accessible entry point for DIY enthusiasts and professionals alike who need high-quality favors on a flexible timeline.
However, moving from a digital file to a physical, polished product requires more than simply hitting "print." Many crafters and event planners encounter frustration not because the design is flawed, but because they overlook technical specifications during the preparation phase. Understanding the nuances of paper weight, color calibration, and assembly mechanics will ensure your Pillow Boxes Bunny C.7. look professional rather than homemade in a negative sense. By addressing common pitfalls before you begin, you can save time, reduce paper waste, and achieve a consistent result across all six boxes in the set.
Understanding Dimensions and Material Compatibility
One of the most frequent mistakes when working with printable packaging is assuming standard office paper will suffice. The approximate size of a ready Pillow Boxes Bunny C.7. box is quite specific: the outer edge length is 7cm, the center length is 5.5cm, the breadth is 4.5cm, and the height is only 1.8cm. These are tiny dimensions. If you use standard 20lb (75gsm) copy paper, the box will lack structural integrity. It may sag under the weight of even light candies, and the fold lines might tear or look ragged rather than crisp.
Conversely, using cardstock that is too thick creates its own set of problems. While heavy cardstock provides durability, the 1.8cm height of this specific pillow box means the side flaps are narrow. If the paper is too stiff, gluing the sides and bottom becomes difficult, and the box may pop open after assembly. For Pillow Boxes Bunny C.7., the ideal material sweet spot is typically between 65lb and 80lb cover stock (approximately 170–220 gsm). This weight offers enough rigidity to hold shape while remaining pliable enough for clean folding and secure adhesion on small surface areas.
Navigating Color Calibration and Print Quality
Digital files exist in RGB color space, while printers operate in CMYK. This fundamental difference is why the vibrant colors you see on your monitor may appear duller or shifted in print. With Pillow Boxes Bunny C.7., being aware that color printing quality can vary is essential for managing expectations. A common error is failing to adjust printer settings to match the paper type. Printing on matte cardstock using a "plain paper" setting often results in ink bleeding or a washed-out appearance, whereas selecting "matte photo paper" or "cardstock" in your driver settings tells the printer to lay down ink more precisely.
To avoid disappointment, always perform a test print on the exact paper you intend to use for the final project. Do not rely on screen brightness as an indicator of final output. If color accuracy is critical for your event theme, consider adjusting saturation levels in your image viewer before printing, or utilize color profiles if your printer supports them. Remember that the final print quality depends heavily on the combination of printer capability and paper coating. A laser printer will yield different results than an inkjet; laser prints tend to be sharper and more water-resistant, which is advantageous if the boxes will hold slightly oily treats or be handled frequently.
Assembly Techniques for Small-Scale Boxes
The instructions for Pillow Boxes Bunny C.7. are straightforward: print, cut, fold on the lines, and glue the sides and bottom together. Yet, the small scale of this template amplifies minor assembly errors. When the broad dimension is only 4.5cm, excess glue becomes a significant issue. Using liquid glue like PVA or school glue can saturate the paper, causing warping or visible staining on the printed bunny design. This compromises the aesthetic appeal and can make the box feel sticky to the touch.
A better approach for this specific size is to use double-sided tape runners or precision glue pens. These adhesives provide instant tack without moisture, ensuring the box maintains its geometric shape during the drying process. When folding, use a bone folder or the back of a spoon to create sharp creases along the designated lines. Hand-folding without a tool often results in rounded edges that make the box look less defined. Since the top is designed to be left open and secured with stickers or tape, ensure your folds are symmetrical so the closure mechanism sits evenly. An uneven fold makes it difficult to apply decorative elements like ribbon or lace securely.
Strategic Customization and Filling Considerations
Because Pillow Boxes Bunny C.7. has a limited internal volume, overfilling is a practical risk. The 1.8cm height restricts what can fit inside comfortably. Attempting to force large items into the box can distort the pillow shape or prevent the top from closing properly. Before mass-producing your set of six, measure your intended fillers against the box dimensions. Small chocolates, jewelry beads, confetti, or folded notes work best. Bulky items should be reserved for larger packaging formats.
Decoration should also be scaled appropriately. While adding ribbon, buttons, or flowers enhances the presentation, heavy embellishments can overwhelm a box with a 5.5cm center length. Instead of large bows, consider delicate twine, small pearl stickers, or stamped details that complement the existing bunny artwork. If you are using these as favor boxes for weddings or parties, consistency is key. Create a jig or template for placing ribbons or stickers so that every box in the set looks identical. This attention to detail elevates the perceived value of the favor and demonstrates professional care, whether you are a hobbyist creating gifts for friends or a vendor fulfilling customer orders.
File Management and Usage Rights
Pillow Boxes Bunny C.7. is delivered as a single high-resolution JPEG file at 300 DPI. This resolution is excellent for print clarity, but it requires proper handling. A common oversight is resizing the image within a word processor or basic layout program without maintaining aspect ratio. Stretching or compressing the file to fit a page can distort the cut lines, resulting in a box that does not align correctly when folded. Always insert the image at 100% scale and adjust your printer’s margin settings instead of manipulating the image dimensions.
Additionally, verify your usage rights before incorporating this design into commercial products. While perfect for personal events and client gifts, understanding the licensing terms prevents legal complications for small business owners. Whether you are preparing treats for kids, creating wedding confetti holders, or packaging boutique items, respecting the creator's terms ensures sustainable support for digital designers. By treating the digital asset with the same respect as physical materials, you ensure a smooth workflow from download to final delivery.
Successfully utilizing Pillow Boxes Bunny C.7. comes down to respecting the physical constraints of the medium and the technical requirements of digital printing. By selecting the correct paper weight, calibrating your printer, using appropriate adhesives, and scaling decorations to match the tiny dimensions, you transform a simple printable file into a delightful, tangible experience. These corrections turn potential crafting frustrations into polished results that delight recipients and reflect well on your attention to detail.